
Strawberry Rhubarb Gluten-Free Scones
Springtime calls for bright flavours, fresh fruit, and a little baking magic. These gluten-free strawberry rhubarb scones are exactly that — naturally sweet, tender, and bursting with fruity goodness. They’re perfect for breakfast, brunch, or a cozy snack with tea or coffee.
The best part? They’re completely gluten-free, made with almond milk, oat flour, brown rice flour, and tapioca starch — but you’d never know it. Bonus: they’re customizable depending on your jam preferences!
Step 1: Make The Strawberry Rhubarb Jam
Before we dive into the scones, let’s make a quick jam.
Ingredients:
2 cups fruit (I used 2 cups rhubarb + 5 large strawberries, but feel free to adjust)
~3 tbsp sugar (adjust to taste)
Instructions:
Chop the rhubarb and strawberries and add them to a small saucepan.
Cook over medium heat until the fruit starts breaking down.
Add sugar gradually, tasting as you go, until it reaches your desired sweetness.
Keep cooking until it thickens to a jam-like consistency.
Store in the fridge while you make your scones.
Step 2: Make the Scones
Ingredients:
140 g brown rice flour
60 g oat flour
60 g tapioca starch
1 tbsp sugar
2 ¼ tsp baking powder
¼ tsp baking soda
pinch of salt
115 g frozen ghee (about ½ cup)
140 g almond milk
Juice + zest of ½ lemon
Instructions:
Preheat the oven: 450°F (232°C).
Mix dry ingredients: In a large bowl, combine the flours, sugar, baking powder, baking soda, and salt.
Incorporate the ghee: Grate in your frozen ghee and stir until crumbly. This keeps the scones light and flaky.
Add wet ingredients: Pour in almond milk, lemon juice, and zest. Stir gently until just combined — don’t overmix!
Step 3: Fold in the Jam
Sprinkle brown rice flour on your counter and place your dough on it.
Roll the dough to about 1 inch thick.
Spread a few spoonfuls of your jam on top, then fold the dough over. Repeat a few times for jam pockets that ooze out beautifully when baked.
Tip: If the dough gets too soft, pop it in the freezer for a few minutes — it makes rolling much easier.
Step 4: Shape the Scones
Roll the dough into a large circle, about 1-inch thick.
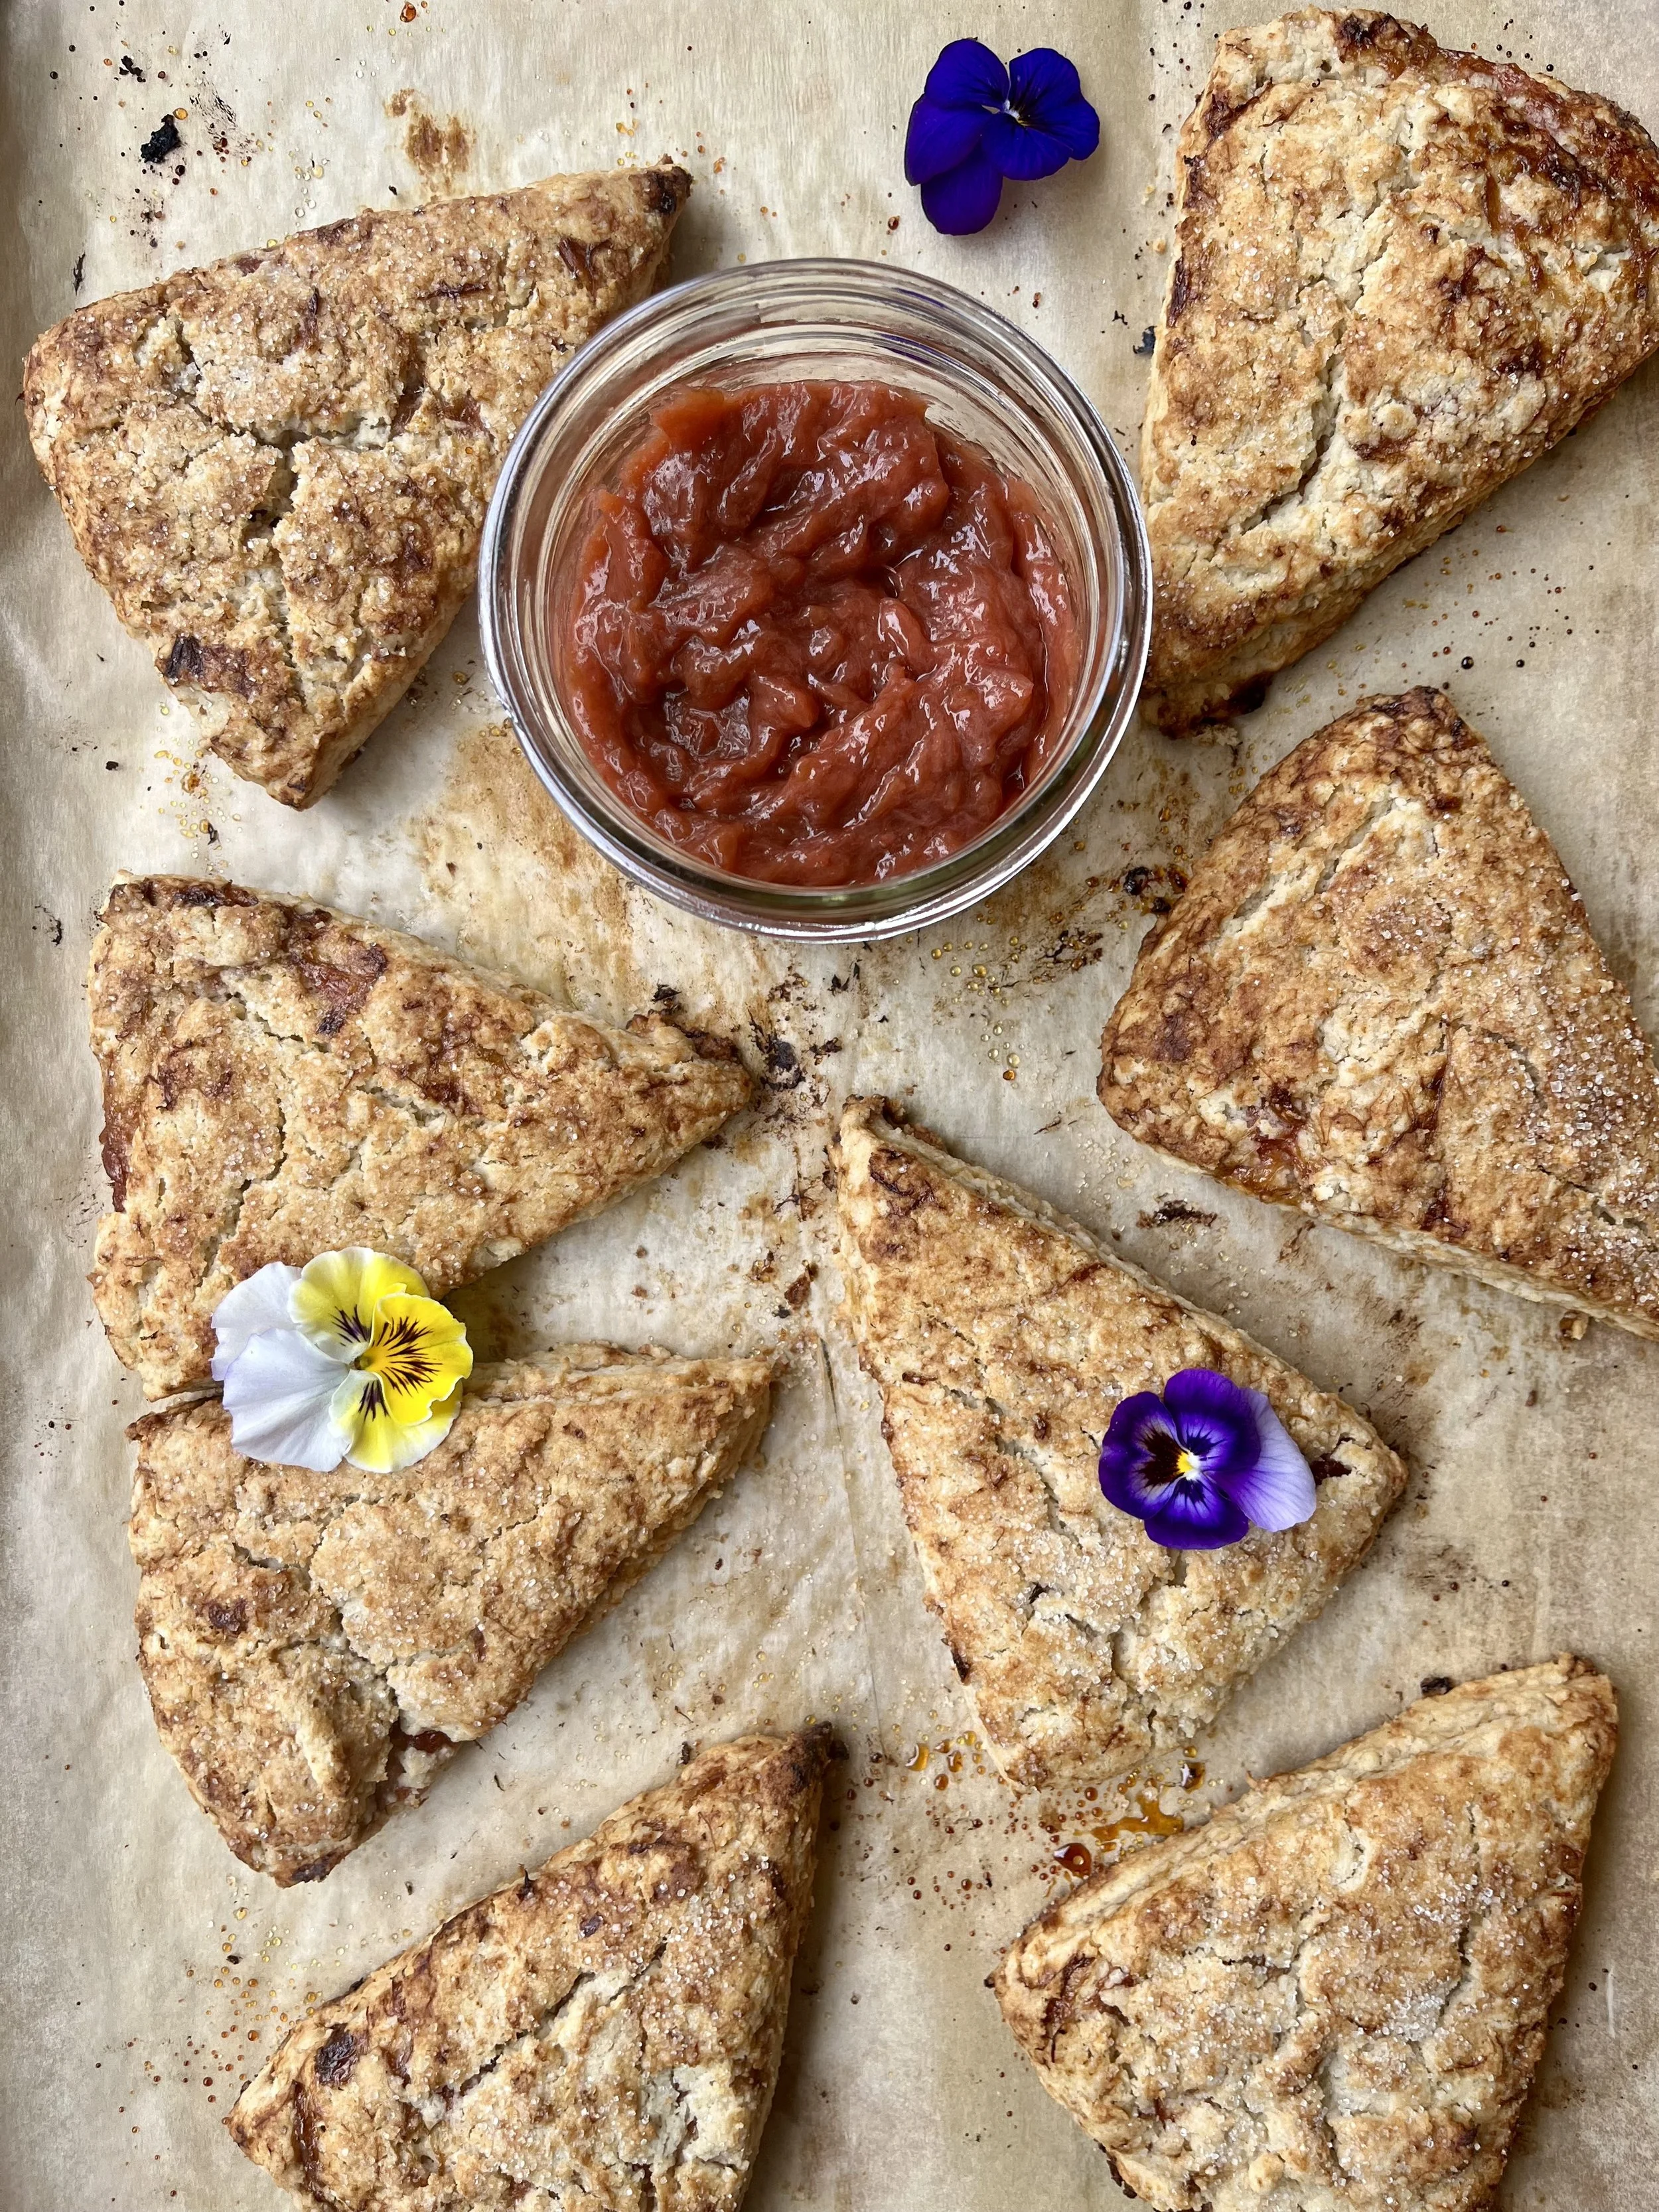
Cut into 8 equal triangles and place them on a parchment-lined baking sheet.
Sprinkle lightly with sugar for a touch of sparkle.
Step 5: Bake and Enjoy
Bake for 15–20 minutes, keeping an eye on them — they’re done when golden brown and smell irresistible.
Let cool for a few minutes before eating, but honestly? These are best warm.
Tips & Tricks
Using grams instead of cups for flours gives much more consistent results.
Don’t overwork the dough — gentle folding keeps scones tender.
Customize your jam: try blueberry, peach, or raspberry for seasonal variations.